How to Use Cricut Explore 3: Get Started With Your First Craft
My childhood friend Emma recently purchased a Cricut Explore 3 to start crafting. Like you, she was confused about how to use Cricut Explore 3. We keep in touch, so she calls me for help. I'm always eager to help; I teach her everything from setting up and connecting the Cricut machine to downloading Cricut Design Space. I also enjoyed her first project; it was fun.
If you have left your
machine untouched since buying and are wondering how to get started, I will
guide you through it step-by-step, just like I did for Emma. I was once a beginner
like you, but with continuous learning, I have done many projects with my
Cricut machine. Follow the instructions in this blog, and you will feel
comfortable in no time. Let's get started!
How
to Setup a Cricut Explore 3 on Your Device?
Now that you have your
Explore 3, before you learn how to use
Cricut Explore 3, it must first be set up properly so you can start
crafting.
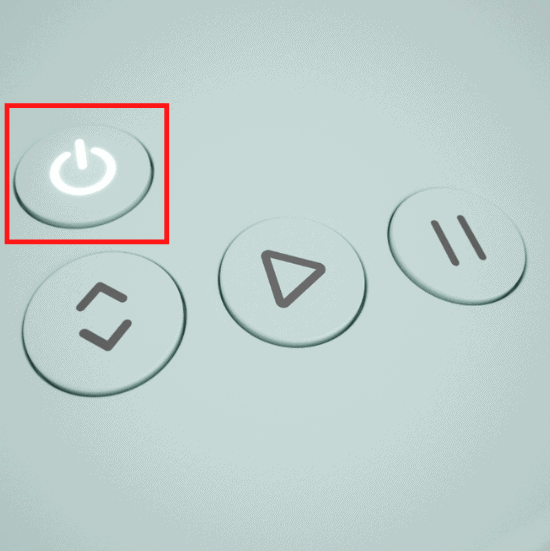
Step 1: Unpacking the Machine and Turn It On
If you haven't opened
the box yet, open it up and locate the power cable and the Cricut Explore 3
machine.
- After this, place the
machine on a clean and flat surface and ensure that there is 2 feet of
free space behind the machine.

- This time, plug the round end of the power cable into the back of
the Cricut Explore 2 machine and the other end into a power source.
- Turn on the machine and the power button simultaneously.

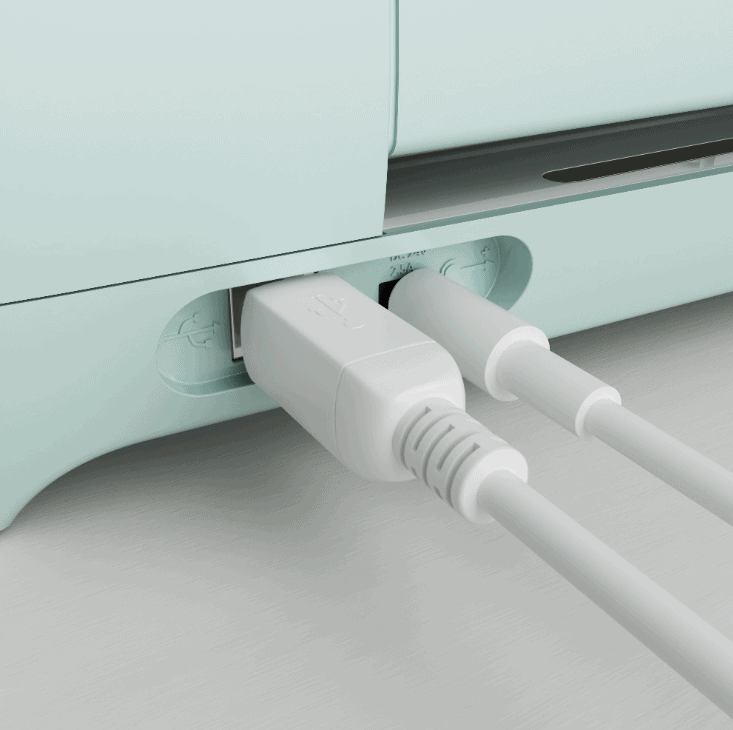
Step 2: Connecting Cricut Explore 3 to a Computer
The Cricut Explore 3
comes with a USB port and also supports Bluetooth connectivity. We can use any
method for connection.
For a USB connection,
plug one end into the computer and another one at the back of the Explore 3
around the power cord.

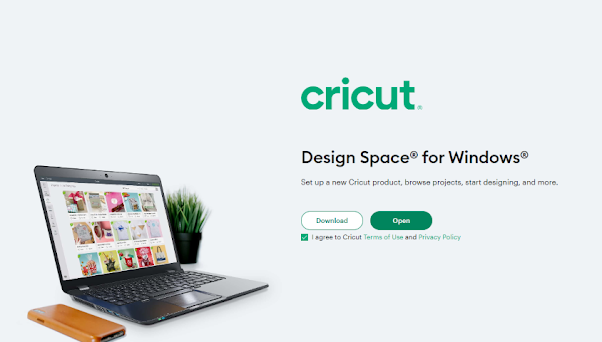
Step 3: Download Cricut Design Space
Installing Cricut Design
Space is essential when you first start learning how to use Cricut Explore 3, as it is integral to the setup.
- Open the computer and go to the cricut.com site; it will automatically recognize the
computer, whether it is a Mac or Windows or not.
- After that, tick the box to agree to Cricut's terms and conditions
and click "Download."

- Moreover, open up the downloaded file, follow the on-screen
prompts, and install the Cricut software.
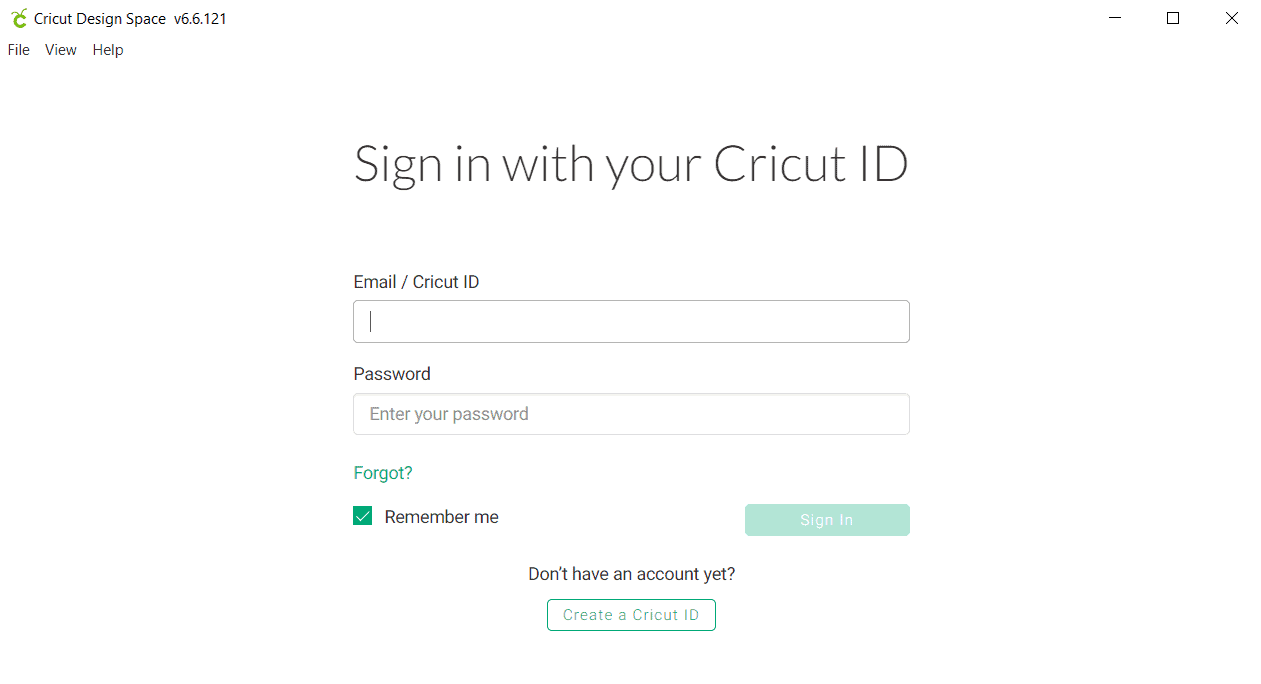
- Next, launch the Cricut application and create a Cricut profile.
If you have already done so, simply log in.

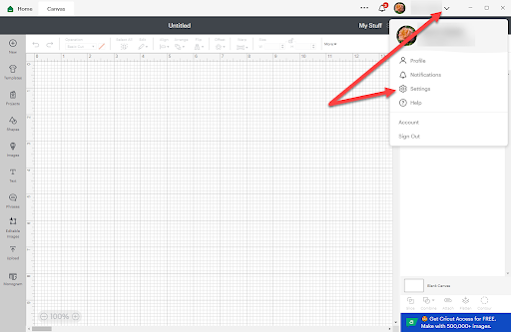
Step 4: New Machine Setup in Design Space
No matter which Cricut
machine you have, it needs to be set up in the Cricut application before use.
- Once the Cricut application
is installed, click the Menu icon.
- Next, click New Product
Setup and select the Cricut cutting machine.

- Now, a new page will open that asks you to select the machine and
tap on the Cricut Explore 3.
- Follow the on-screen steps, then update if there is any new
update, and click Continue to
complete setup.
How
to Use a Cricut Explore 3 to Make a Mug?
Finally, the setup for
the Cricut Explore 3 is complete, and it is connected. Now, let's dive into how to use Cricut Explore 3 by creating
a project.
Step 1: Supplies and Tools Required
Given below are the essential Cricut tools and
materials you will need to get started with your project.
● Cricut vinyl
● Cricut Explore 3
● Weeding tool
● Transfer tape
● A blank item (I choose a mug)
Step 2: Use the Cricut Software and Create a Design
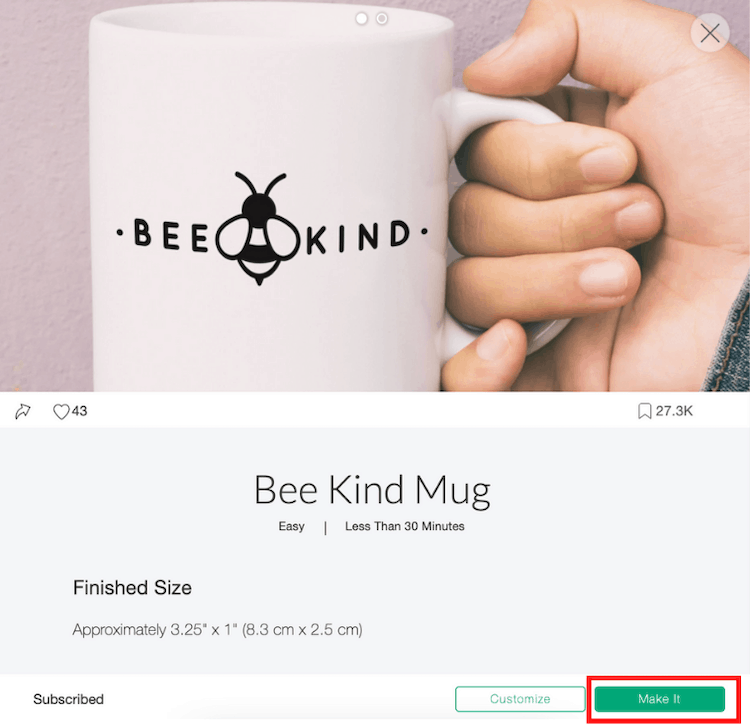
Open the Cricut app,
click on the New Project, and look
for the "Bee Kind" design
in the search bar. Since it is your first project, I recommend skipping any
customization. Simply drag and resize the design, then click Make It.

Step 3: Select Your Material
- Now, the Cricut software will ask you to choose the
load type "Without Mat"
and click done.

- Also, insert the smart vinyl into the machine,
ensuring the fine point blade is installed in clamp B.
- Then, return to the Cricut app and click the Continue button.
Step 4: Start Cutting Your Design
When your design and all
the settings are complete in Design Space, it is time to click the Go button and start cutting. Once the
machine finishes cutting, hit the Load button
to remove the smart vinyl.
- Next, trim and weed out the excess vinyl that is not
required.
- Then, cut the transfer tape to fit the size of the
design you have cut out. Peel the white backing away from the transfer
tape and place the sticky side down on your vinyl decal.
- Finally, peel back the transfer tape and apply it to
the blank object (mug) to lift it up; it's as simple as that.

Final
Words
The Cricut Explore 3 is
a popular machine capable of cutting over 100 materials, making it ideal for
various projects like t-shirts, vinyl decals, stickers, cards, and more. Before
diving into any projects post-purchase, it's crucial to understand how to use
the Cricut Explore 3. I have provided all the information from setup to the
first DIY project, assuming you have completed it and are now comfortable using
your machine.
Frequently
Asked Questions
What
can I make with my Cricut Explore 3?
The following projects
are beginner-friendly, stunning, and easy to make with the Cricut Explore 3.
- Labels
- Decals
- Personalized apparel
- Mugs
- Wooden sign
- Banners
- Bookmarks
- Frame
- Cupcake toppers
- T-shirt
- Coasters
How
to use Cricut Explore 3 without a mat?
You can follow these
simple instructions to use the Cricut Explore 3 without a mat:
- First, create a design in the Cricut app and select
the load type "Without Mat."
- After that, load the material onto your machine and
press the Start button.
- Finally, complete the on-screen instructions to
complete the vinyl cutting process.
How
to connect Cricut Explore 3 to a computer or mobile phone?
Follow the steps below
to connect the Cricut Explore 3 to a computer or mobile phone:
- Ensure that the Explore 3 is turned on.
- Open the Bluetooth
settings on your computer or mobile phone.
- Wait for your system to detect the Explore 3.
- Select the machine, and if asked for a PIN, type 0000, then select Connect.
Source URL: - How to use Cricut Explore 3
Visit - How to use a Cricut Explore 3

Comments
Post a Comment